
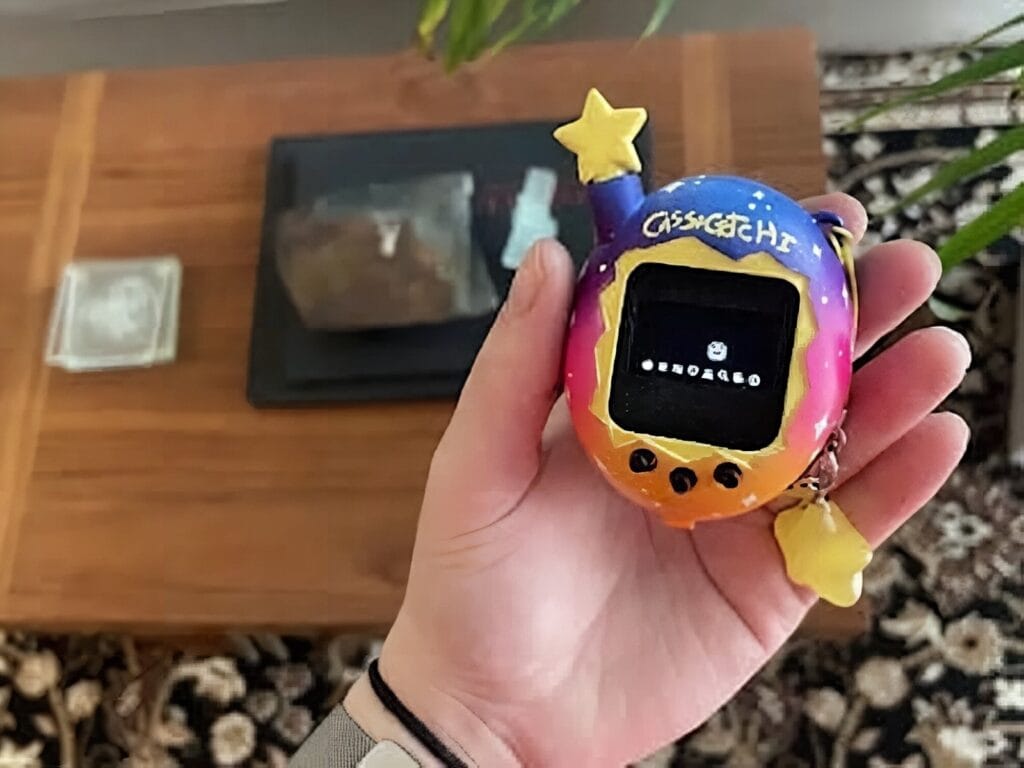
Remember the 90s, when a plastic egg dictated your daily schedule and a beeping pixel pet had more emotional pull than your homework? Maker Cass has dragged that feeling straight into 2026 with the Cassagotchi, an open, hackable Tamagotchi clone you can solder, print, and play with in a weekend.
The Cassagotchi runs a tweaked build of ArduinoGotchi, an open-source emulator originally released by Gary Kwok under the GPL. Cass adapted it to fit on the smaller Nano footprint, packed it inside a chunky 3D-printed egg-shaped shell, and wired in just enough hardware to recreate the feed-clean-play-or-it-dies loop the original was famous for.
What’s inside the egg
At the heart of the build is an Arduino Nano R3 (or a compatible clone) running the modified emulator firmware. A 168×64 OLED display handles the pixel-art pet, while a trio of push-button switches mirror the original three-button input scheme for feeding, scolding, and selecting menus. Power comes from a lithium-polymer battery paired with a charging module, so the whole thing stays pocketable. Cass also notes that pin D5 is reserved for a manual save button, which can dramatically reduce EEPROM write cycles if you wire it up.
Why this is a fun rebuild
It is the kind of project that hits a sweet spot: small enough to finish, weird enough to show off, and open enough to fork. Cass admits the 3D files are a first attempt and there is plenty of room to refine the chassis, button feel, or display window. If you have ever wanted to ship a tiny gadget that actually does something, this is a great template to riff on.
Build it yourself
You will need an Arduino Nano R3, a 168×64 OLED display, three small tactile push-button switches, a lithium-polymer battery with a charging module, and a 3D printer (or a friend with one) to run off the egg-shaped enclosure. A passing comfort with Arduino coding, basic soldering, and 3D modelling will make the build smoother. Grab the parts from Circuit.Rocks and you can be flashing firmware before the weekend is out.
- Arduino Nano R3 (or compatible)
- 168×64 OLED display module
- 3x tactile push-button switches
- Li-Po battery + charging module
- 3D-printed shell & chassis
Frequently Asked Questions
What microcontroller and display does the Cassagotchi use?
The Cassagotchi runs on an Arduino Nano R3 (or a compatible board) paired with a 168×64 OLED display module and three tactile push buttons that mirror the original Tamagotchi’s three-button input scheme.
Where does the Cassagotchi firmware come from, and what powers it?
The firmware is a Nano-adapted fork of ArduinoGotchi, an open-source GPL-licensed Tamagotchi emulator originally written by Gary Kwok. Power comes from a lithium-polymer battery wired through a small Li-Po charging module, making the whole gadget rechargeable and pocketable.
What will I learn if I build this?
You will get hands-on practice flashing firmware to an Arduino Nano, wiring an OLED display and tactile buttons, and managing power from a Li-Po battery with a charging module. You will also pick up basic 3D modelling and printing for enclosures, plus a feel for embedded constraints like EEPROM write cycles and limited program memory.