
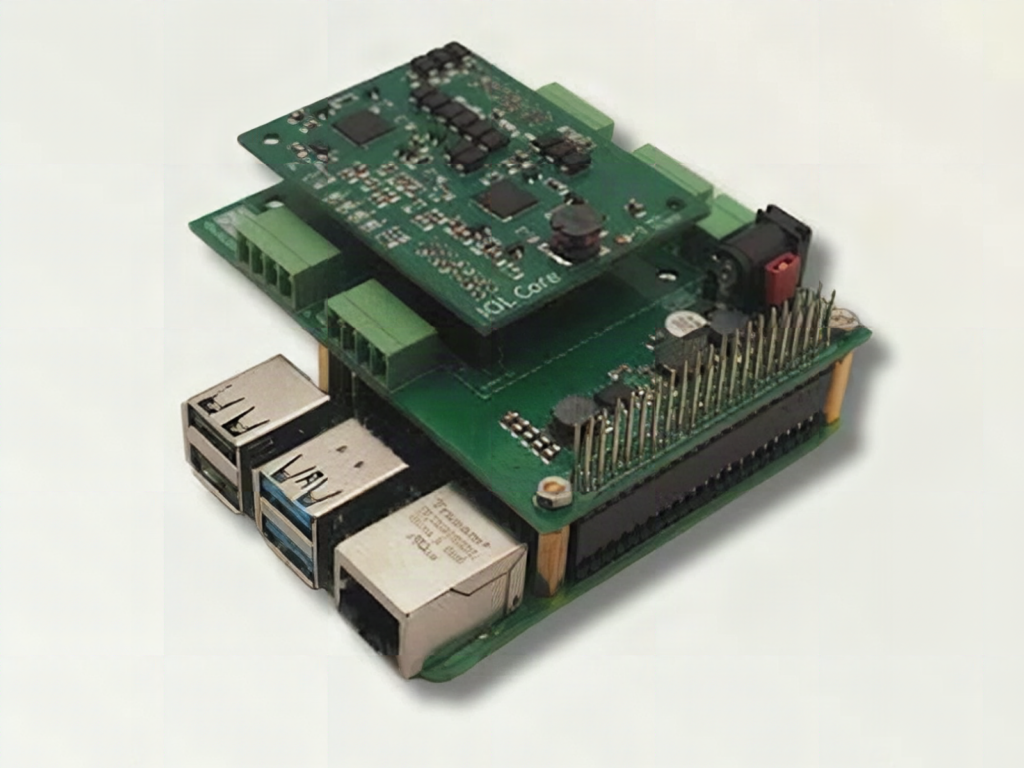
Got a free Saturday, a Raspberry Pi 5 in a drawer, and a curiosity about how factory floors talk to their sensors? Pinetek Networks just made that a weekend hack instead of a PCB-design headache. Their IOL Core4 module adds IO-Link support to a Pi, and a carrier board turns it into a plain HAT you can stack on the 40-pin header.
What Pinetek built
IO-Link (IEC 61131-9) is the point-to-point protocol industrial sensors and actuators use to report data back to a controller, with device identification baked in. The IOL Core4 handles four IO-Link ports at once. It comes in two flavors: a module that works as a communications subsystem for a host running the IOL software stack, and an IOL Core4 Plus with its own microcontroller for standalone use. The carrier board is the evaluation shortcut, so you can test a real IO-Link link before committing to custom hardware.
Parts and cost reality
- Eval kit price: EUR 270 (about USD 303, or roughly PHP 17,000 at current rates) plus shipping.
- In the box: the four-port IOL Core4, the HAT carrier board, a 24V power supply, and four 2-meter open-end M12 cables.
- Host: Raspberry Pi 4 or Raspberry Pi 5 on Raspberry Pi OS Trixie or Bookworm. Older boards are not listed as supported.
- Gotcha: the M12 cables are open-ended, so budget time with a screwdriver and a wire stripper to land the sensor leads on your own terminals.
That price is not hobby-pocket-money, so this one fits a school lab, a mechatronics department, or a capstone team with a sponsor better than a solo builder. If your thesis touches industrial automation, one kit can serve a whole group.
Spend your Sunday on this
Saturday: read the vendor docs and the IEC 61131-9 overview, then flash a fresh Pi with Bookworm and confirm the HAT sits flush on the header. Sunday: wire a 24V IO-Link sensor to port 1, pull its process data in Python, and log it to a CSV. A distance or temperature sensor is the easiest first target because you can see the value change by waving a hand. If the 24V rail browns out when you add a second device, check the supply current rating before blaming your code.
Full details and the store link are in the original write-up at Hackster. For a Pi 5 to host it, check the current stock at circuit.rocks.
Frequently Asked Questions
What does the IOL Core4 connect to a Raspberry Pi?
It adds four IO-Link ports (IEC 61131-9) so a Raspberry Pi 4 or 5 can talk to industrial sensors and actuators through the carrier board HAT.
What does the eval kit include and cost?
The kit has the four-port IOL Core4 module, a HAT carrier board, a 24V power supply and four 2-meter open-end M12 cables for EUR 270 (about USD 303) plus shipping.
What will I learn if I build this?
You learn how industrial sensor networks work, how to power a 24V sensor line safely, how to wire M12 leads to terminals, and how to read process data from a Raspberry Pi in Python.
