
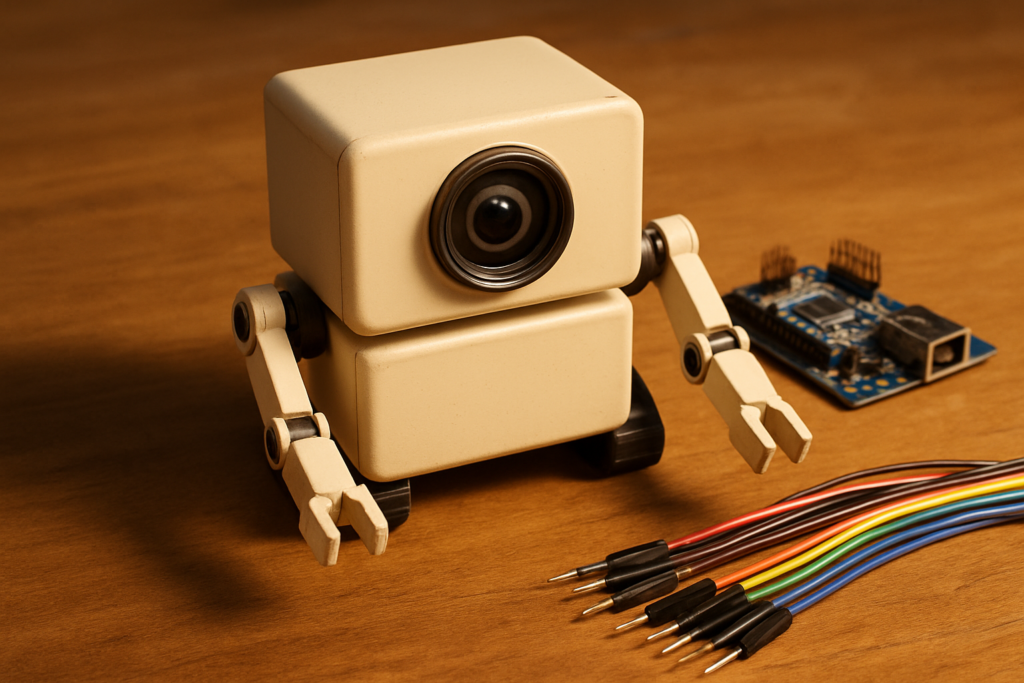
It starts with a small nod. You sit down at your desk, a palm-sized robot swivels its head, locks its camera eye onto your face, and says hello. Huy Vector and the team at HVT Lab built exactly that: a WALL-E-inspired desk companion that watches, listens, and answers back.
What they built
The robot is a compact animatronic that sees through an onboard camera, recognizes objects placed in front of it, holds a natural voice conversation, and reacts to spoken commands. Roll it a marker and it can name the color. Ask it a question and it replies through a small speaker. Two servos drive the head and neck so it can turn toward whoever is talking, which is the trick that makes it feel alive instead of like a webcam on a stick.
How they wired it up
The brain is an ESP32-S3, a dual-core chip clocked at 240 MHz with 8MB of PSRAM, enough headroom to buffer camera frames and run the audio pipeline. An OV2640 2MP camera feeds the vision side, and an Adafruit Crickit board handles the servo PWM and motor power so the ESP32-S3 GPIO pins never have to source servo current directly. The camera and Crickit share the 3.3V logic rail, while the servos pull from a separate 5V line to avoid brownouts when both arms move at once. Voice recognition and object detection run against a cloud AI service, with the ESP32-S3 streaming audio and images over WiFi.
A few gotchas worth knowing before you clone this: servos are noisy neighbors, so add a beefy capacitor across the 5V rail, and keep the camera ribbon cable short to cut down on glitches. If your microphone picks up servo whine, move its ground wire away from the motor leads.
Why it is a great build to copy
This is a full-stack robotics project squeezed onto one board: vision, speech, motion, and networking. For an ECE thesis or a school robotics team, it hits embedded C, servo control, and cloud AI in a single afternoon of soldering. You can start small with just the ESP32-S3 and camera, get face detection working on a breadboard, then add the Crickit and servos once the vision loop is solid. The full walkthrough and video are on Adafruit’s post, and you can grab an ESP32-S3 dev board and a Crickit from circuit.rocks to start your own.
Frequently Asked Questions
How does the robot recognize objects and understand speech?
Vision and voice both run on a cloud AI service. The ESP32-S3 streams camera frames and microphone audio over WiFi, then gets back object labels and spoken replies that play through its speaker.
What parts do I need to build one?
An ESP32-S3 dev board, an OV2640 camera, an Adafruit Crickit for servo power and control, two hobby servos for the head and neck, a microphone and a small speaker, plus a separate 5V supply for the servos.
What will I learn if I build this?
You will pick up embedded C on the ESP32-S3, servo PWM control, wiring a camera interface, managing separate 3.3V and 5V power rails, and connecting a microcontroller to a cloud AI API, a full robotics stack in one project.
