
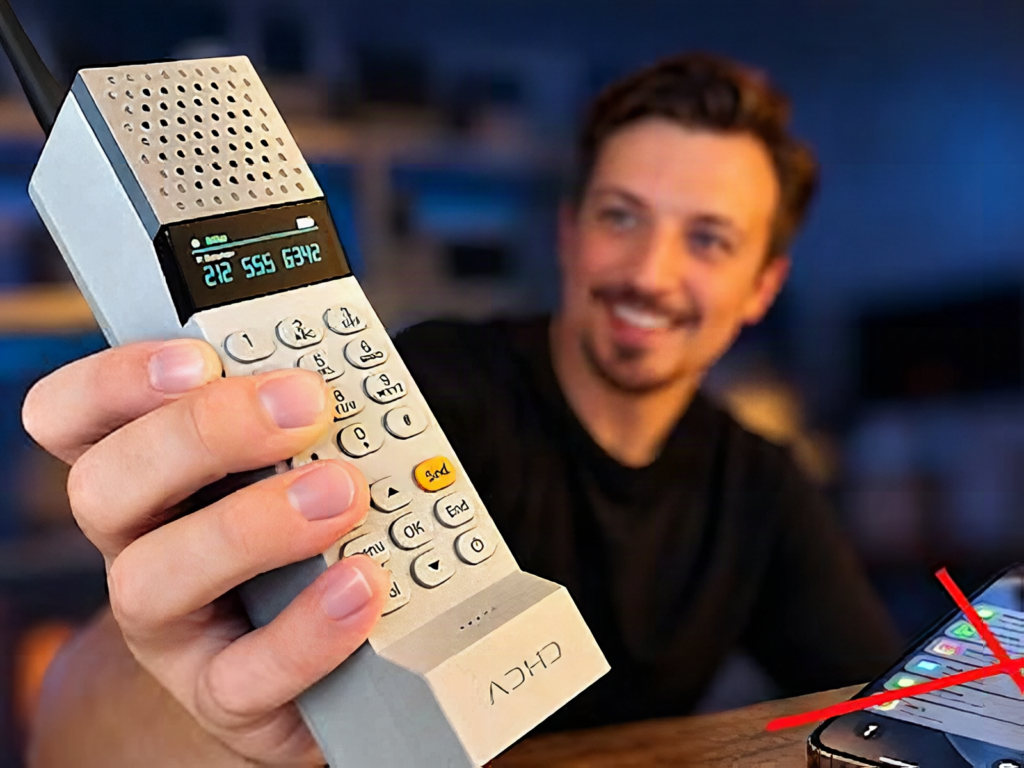
Your phone buzzes mid-soldering, and suddenly the iron is cold and you are reading a group chat. Kevin Noki’s fix is a chunky brick handset that rings only when approved callers get through, with the iPhone left in a drawer. The full story is on Hackster.
What he built
The handset is not a standalone phone. It pairs over Bluetooth to his iPhone the same way a car stereo does, using the hands-free profile (HFP). The iPhone sits in do-not-disturb, lets a short list of callers through, and the brick rings, answers, and carries the audio. He calls it the ADHD ONE, and the case borrows the cassette-futurism look of early cell phones.
Technical details
The key part is an FSC-BT1026C module built on the Qualcomm QCC3024, which handles HFP audio so the microcontroller never touches voice data. A Raspberry Pi Pico (RP2040, 133 MHz, 26 GPIO pins, see the datasheet) reads a numeric keypad, drives an OLED, and sends dial commands to the module over UART. Add a microphone, a speaker, and a single-cell lithium battery with a charge controller, all on a custom PCB so there is no rat’s nest of jumper wires. The gotcha for beginners is the UART: use 3.3 V logic on both sides and cross TX to RX, or the module will never answer your AT commands.
Build it yourself
Start small: wire a 4×3 keypad to a Pico on a breadboard, show the pressed digits on a 128×64 OLED over I2C (SDA on GP4, SCL on GP5), and stop there. That is a good weekend milestone for a thesis or capstone prototype, and you can add the Bluetooth module once the keypad scanning code is stable. Pico boards, OLEDs, and keypads are available at circuit.rocks, and Kevin’s design files are linked from the Hackster story above.
Frequently Asked Questions
How does the ADHD ONE handset make calls?
It pairs to an iPhone over Bluetooth using the hands-free profile, via an FSC-BT1026C module, so the phone handles the cellular link and the brick handles keypad, screen, and audio.
What parts and skills does this build need?
A Raspberry Pi Pico, an HFP Bluetooth module, keypad, OLED, microphone, speaker, and lithium battery with a charger. You need basic soldering, UART wiring, and simple PCB design.
What will I learn if I build this?
You learn keypad scanning, I2C displays, UART command protocols, Bluetooth audio profiles, and laying out a custom PCB, all useful skills for an ECE capstone.
