
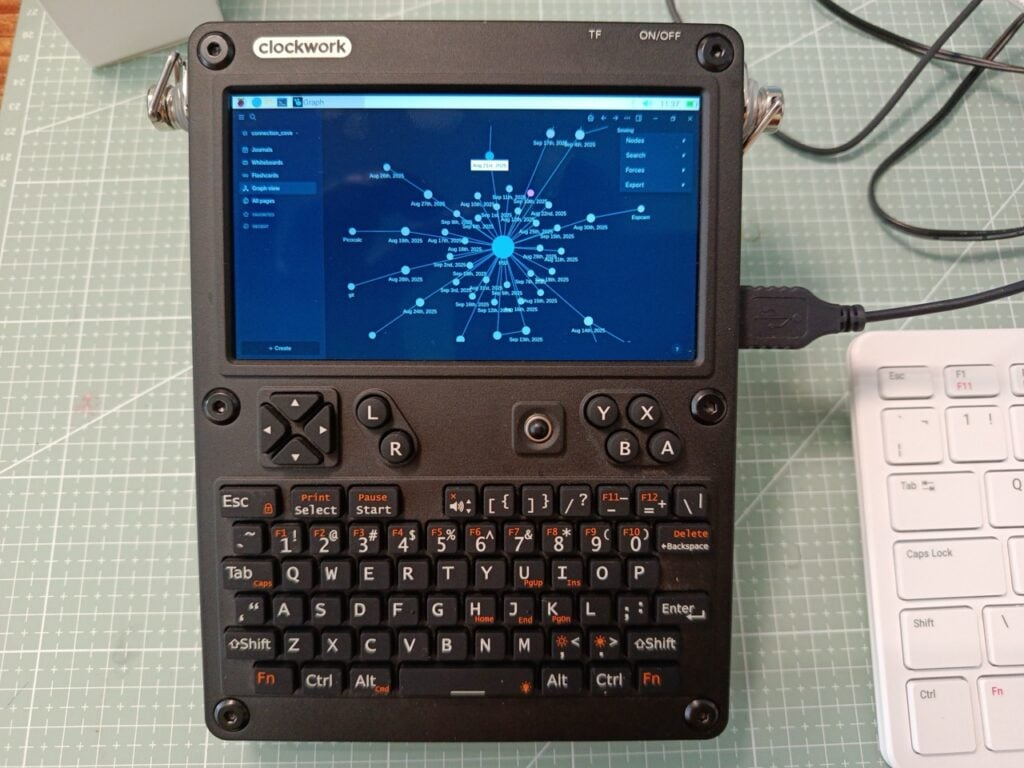
Your thesis notes are spread across three chat apps, a notebook you left in the jeepney, and a cloud account that just changed its free tier. The Raspberry Pi Official Magazine’s latest tutorial fixes that with hardware you probably already own: a personal knowledge base that lives entirely on your own Raspberry Pi and never touches someone else’s server.
What the build actually is
The setup pairs two open source tools. Logseq handles the notes: every page is a plain Markdown file in a folder you choose, with tags that link pages into a graph you can visually browse. Syncthing handles the copies, moving that folder between machines peer-to-peer and encrypting it in transit, so no company sits in the middle holding your lab logs and capstone references. The magazine team ran it on a Raspberry Pi 500, a Pi Zero, and a uConsole built around the Compute Module 4, so board choice is genuinely flexible.
The technical bits
Logseq currently ships for Raspberry Pi OS only as a Snap, which is the first gotcha on a fresh install. You update the package index, install snapd, reboot, then install Logseq from the og channel. On first launch you point it at a folder, click “add a graph”, and that folder becomes the whole database: Markdown files at the top level, an assets subfolder for PDFs, images, and audio. Copy the folder to another Pi and it opens as the same brain, which is why Syncthing works so cleanly here. Syncthing’s web dashboard sits on port 8384 and the sync traffic itself runs over port 22000, useful to know if your school network firewalls anything unusual.
Build it yourself
You need a Raspberry Pi with a desktop (a Pi 500, Pi 5, or Pi 4 with 4GB is comfortable; a Zero works but expect slower graph redraws), a microSD card with Raspberry Pi OS, and about 40 minutes. Start with one machine, get a week of journal entries in, and only add Syncthing once you actually want a second device in the loop. The tricky part is discipline, not installation: a second brain is only useful if you dump things into it daily. Full step-by-step, including the Syncthing pairing, is in the original write-up at raspberrypi.com.
Frequently Asked Questions
Which Raspberry Pi models can run Logseq?
Do I need Syncthing, or is Logseq enough on its own?
Logseq alone is enough if you only take notes on one machine. Syncthing matters when you want the same notes on a laptop and a Pi, because it copies the graph folder directly between your devices over ports 22000 and 8384 instead of routing it through a cloud account.
What will I learn if I build this?
You will get practical Linux package management on Raspberry Pi OS, including working with Snap channels, plus hands-on experience with peer-to-peer file synchronisation, local network ports and firewall behaviour, and Markdown as a plain-text data format. Those are the same skills you reuse later when self-hosting a project server or a data logger for your capstone.
