
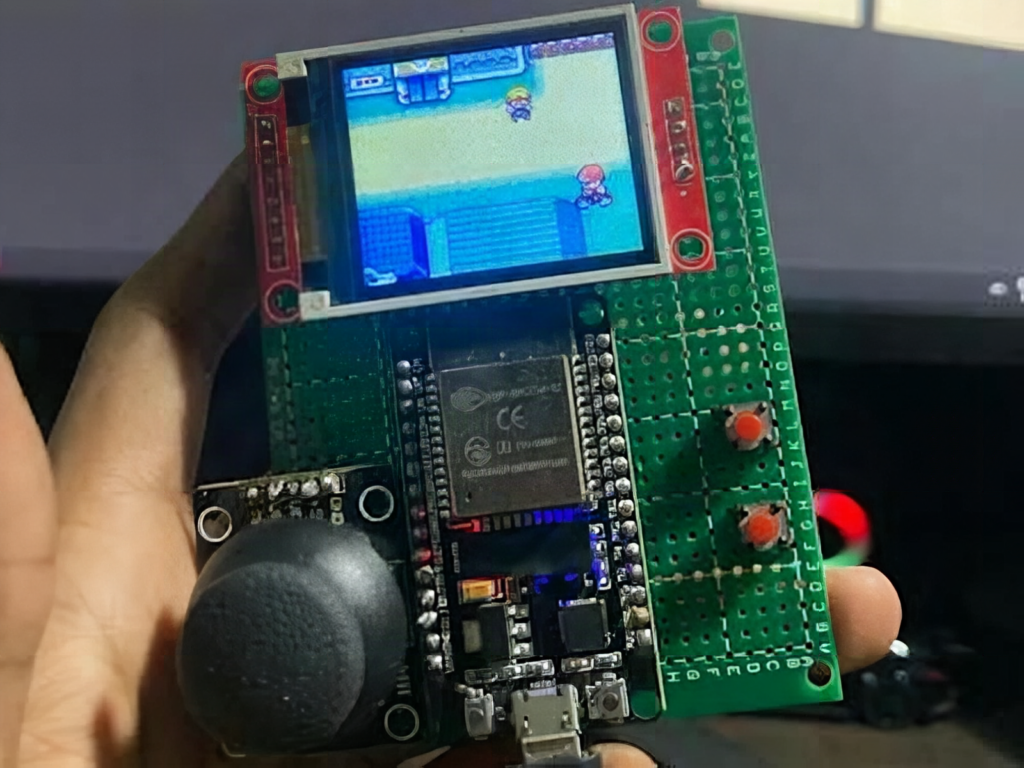
Got a spare 1.8 inch LCD sitting in a drawer? Redditor Engineeroids had an ST7735 screen meant for a music controller, changed plans, and ended up with a working Game Boy emulator on an ESP32. It is a Saturday-sized build, and Hackster News has the write-up.
What got built
The handheld runs Game Boy titles such as Tetris, Pokémon, and Zelda on an ESP32 DevKit V1. The screen is a 160×128 pixel ST7735 color LCD. Controls are one analog joystick plus two push buttons, and everything sits on a 7×9 cm piece of perfboard with the wiring left exposed. No enclosure, no battery: it runs off USB power.
Parts and cost reality
The parts list is short: an ESP32 DevKit V1, the ST7735 display on SPI, a joystick module, two tactile buttons, perfboard, and hookup wire. Most of it is probably already in a student’s kit. Budget a few hundred pesos if you buy fresh, and you can prototype on a breadboard first before soldering anything.
The software side uses Peanut-GB, a small Game Boy emulator written in C99, wrapped in an Arduino-framework sketch. The gotcha: loading ROMs from an SD card worked for small games but failed for larger ones, so the fix is to bake a single game into the ESP32 flash. Save-game support and a custom splash screen are still on the to-do list.
Spend your Sunday on this
Wire the display to the ESP32 SPI pins (SCK, MOSI, CS, DC, RST), set up the TFT driver for the 160×128 panel, then add the joystick on an ADC pin and the buttons with INPUT_PULLUP. Get a test pattern on screen before touching the emulator library. Check the Peanut-GB repository for the platform callbacks you need to fill in. Use a ROM you legally own or a homebrew title. If your screen stays white, recheck the 3.3 V supply and the RST pin first.
Frequently Asked Questions
Which emulator does this ESP32 handheld run?
It uses Peanut-GB, a lightweight Game Boy emulator written in C99, inside an Arduino-framework sketch on an ESP32 DevKit V1.
What parts and skills does the build need?
An ESP32 DevKit V1, a 160×128 ST7735 SPI LCD, a joystick, two push buttons, and perfboard. You need basic soldering and the ability to configure a TFT library.
What will I learn if I build this?
You will practice SPI display wiring, reading an analog joystick on an ADC pin, button debouncing, and porting a C99 library to a microcontroller with limited flash.
