
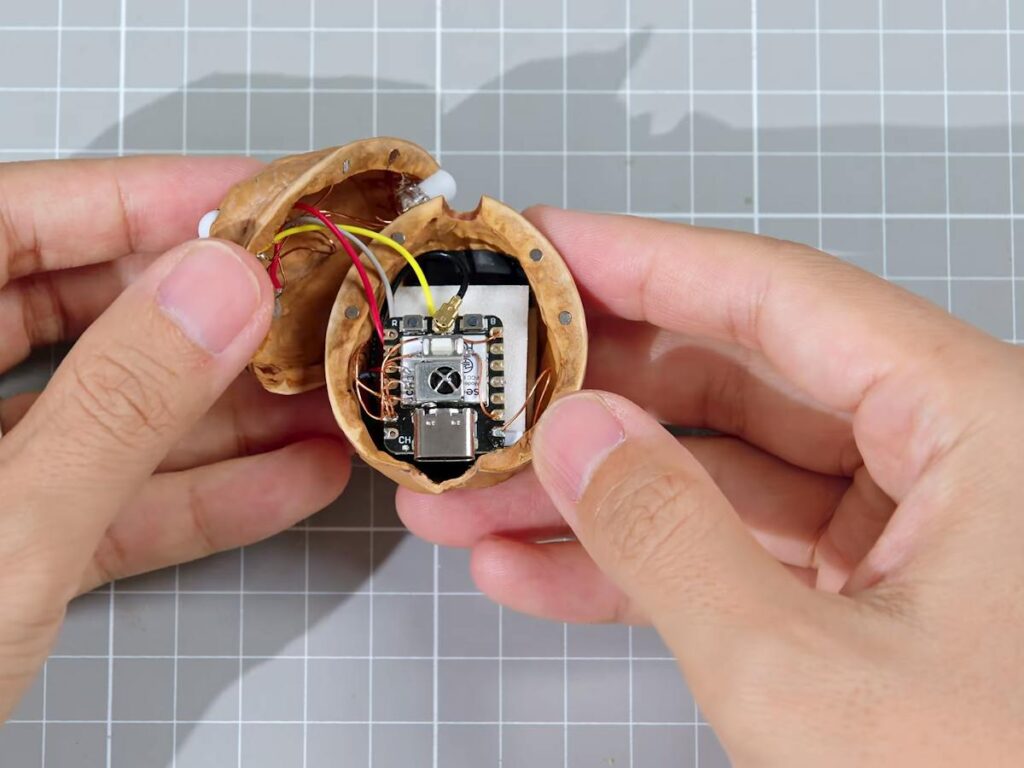
Makers keep hiding microcontrollers inside everyday objects: a lamp shaped like a book, a speaker inside a lunchbox, a smart plug that looks like a wall socket. The trend rewards one skill above all, squeezing a full Wi-Fi device into a shell that was never meant to hold electronics. The latest example is a working infrared remote built inside a real walnut.
The walnut remote
YouTuber JSK-koubou split a walnut, ground out the inner ribs with a rotary tool, and fitted two small neodymium magnets so the halves snap shut. Inside sits a Seeed Studio XIAO ESP32-C3 and a 300 mAh LiPo cell. An IR receiver pressed against the board lets the walnut learn codes from any existing remote, and a temperature sensor reports room conditions over Wi-Fi. A browser page served by the ESP32 stores the captured codes and replays them on demand. The full write-up is on Hackster.
What to copy from it
The tricky part is infrared range. A GPIO pin on the XIAO cannot drive four IR LEDs at useful power, so the build uses a logic-level MOSFET switched from pin D3, with a series resistor and the LEDs powered straight from the LiPo at about 3.7 V instead of the 3.3 V regulator. The LEDs point in four directions around the shell, so you do not need to aim the walnut at the TV.
Wiring is the second gotcha. Thin enamelled magnet wire saves space inside the shell, but wire crossing the hinge between halves is flexible stranded wire, so opening the walnut a few hundred times will not snap a conductor. Power draw matters too: waking every 5 minutes, a 24-hour test used about 47 mAh, which works out to roughly 6 days per charge.
What to try next
Start with the library, not the enclosure. Load an IR record-and-replay example such as IRremoteESP8266 on any ESP32-C3 board and capture the codes from your aircon remote on a breadboard. Once that works, add the MOSFET stage and test range from 5 metres before you cut anything. A XIAO ESP32-C3 and a small LiPo are the only parts that need to be ordered; the rest is a handful of IR LEDs, a 2N7002-style MOSFET, and a resistor from your parts bin. Then pick a shell: a walnut, a matchbox, or a hollowed-out book. Browse ESP32 boards and IR parts at circuit.rocks and test the code before you drill.
Frequently Asked Questions
How does the walnut remote send infrared signals?
Four high-power IR LEDs are switched by a MOSFET driven from GPIO D3 of the XIAO ESP32-C3. They run from the LiPo battery through a current-limiting resistor, and face four directions for wide coverage.
What parts and skills does this build need?
A XIAO ESP32-C3, a 300 mAh LiPo, an IR receiver, four IR LEDs, a MOSFET, a resistor, a button, an LED and a temperature sensor. You need basic soldering with thin wire and some Arduino-style C++.
What will I learn if I build this?
You practise driving high-current loads with a MOSFET, capturing raw IR timing data, serving a web page from an ESP32, and measuring battery life with deep sleep. All of it carries over to thesis and capstone IoT projects.
