
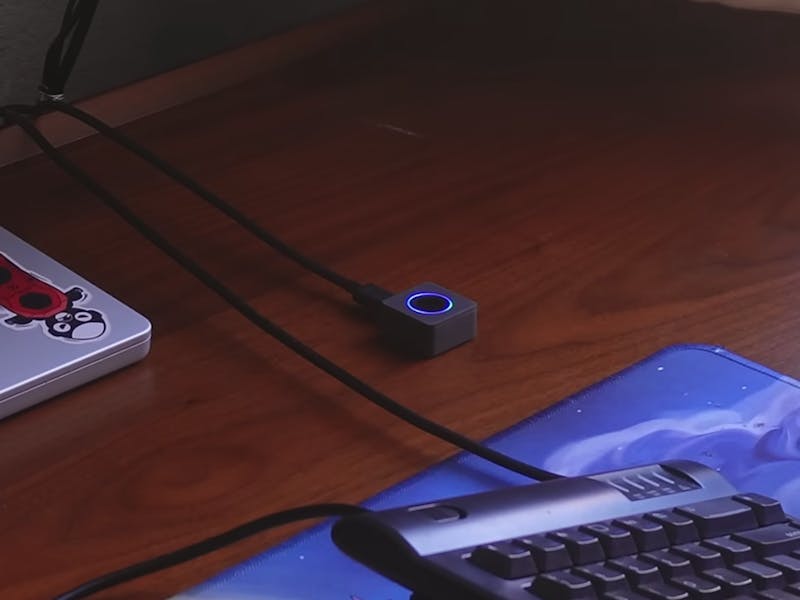
Want fingerprint unlock on a Mac without buying Apple’s Touch ID Magic Keyboard? Developer Zimeng Xiong built exactly that: a small USB module called TinyTouch that adds biometric login to any Mac, no keyboard swap required.
What the project actually does
TinyTouch is an open source USB fingerprint authenticator built around an ESP32-S3 microcontroller, a round UART fingerprint sensor with a built-in status ring, and a USB-C port. Instead of trying to reverse engineer Apple’s Secure Enclave, Xiong took a smarter route: the device pretends to be a standard PIV smart card, a login method macOS already trusts for unlocking the screen and approving sudo commands. Your fingerprint just gates whether that card is allowed to respond.
How it authenticates without faking Touch ID
During login, macOS sends a cryptographic challenge to the module. The firmware only signs it with its stored private key after the fingerprint sensor reports a match, so biometrics sit in front of the smart card logic. There are two modes. HID mode makes the ESP32-S3 act like a USB keyboard and types a stored, encrypted password after a scan, which works almost anywhere. PIV mode skips typing entirely and authenticates through the smart card path for login and sudo. One honest gotcha: the UART link between the sensor and the ESP32 is unauthenticated (these optical sensors usually talk over TX and RX at 57600 baud), so someone with physical access could spoof a match. Xiong’s fix is to pot the finished board in black epoxy and turn on secure boot plus flash encryption on the ESP32-S3.
Try it yourself
This is a weekend-scale build if you are comfortable with an ESP32-S3 and a serial sensor. You will need the dev board, a UART fingerprint module, a USB-C breakout, and a printed shell, likely under PHP 2,500 in parts. Wire the sensor’s TX and RX to two free GPIO pins, flash the open source firmware, and test in HID mode before you commit to PIV. Full build notes and code are on the original write-up. If soldering isn’t your thing yet, Xiong is taking sign-ups for pre-assembled kits.
Frequently Asked Questions
How does TinyTouch unlock a Mac without copying Apple’s Touch ID?
It emulates a standard PIV smart card, which macOS already supports for login and sudo. The ESP32-S3 only signs the login challenge after the fingerprint sensor confirms a match, so your fingerprint gates the smart card instead of impersonating Apple’s Secure Enclave.
What parts do I need to build one?
What will I learn if I build this?
You’ll practice UART serial communication, wiring a sensor to GPIO pins, and the difference between USB HID and PIV smart card authentication. You’ll also touch real embedded security features like secure boot and flash encryption on the ESP32-S3.
