
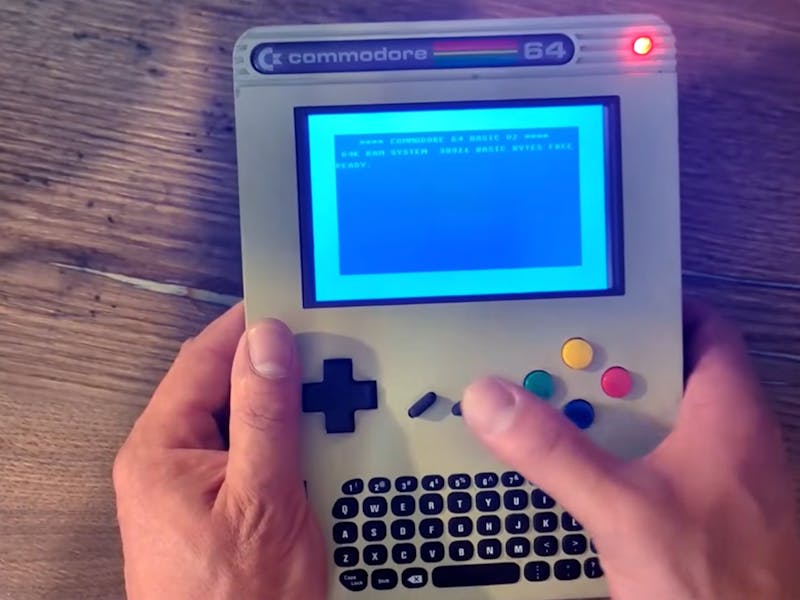
Want to carry a Commodore 64 in your backpack? Here is the shopping list before you start: a Raspberry Pi 3 Model B, a cast-off Xbox Chatpad for the keyboard, a Raspberry Pi Pico, a small HDMI display, a USB power bank, and a speaker paired with a cheap amplifier module. Almost everything is off-the-shelf, and because the parts connect over USB and pin headers, you can finish the whole handheld without ever touching a soldering iron.
The build comes from YouTuber Retro Dad, who packed a full C64 experience into a printed handheld case. The C64 is still the best-selling single computer model ever made, and more than four decades after launch people keep dragging it into new hardware. Retro Dad released the entire project open source: case files, custom firmware, wiring diagrams, and a step-by-step guide are all posted so you can clone the build instead of reverse-engineering it.
How the joystick ports actually work
The tricky part is the pair of authentic 9-pin D-sub joystick ports. Those connectors were everywhere on 1980s and 1990s machines, but nothing modern speaks their language. Retro Dad solved it by dropping a Raspberry Pi Pico between the ports and the Pi, using the microcontroller to read the joystick pins and translate them into USB input the Linux side understands. The Chatpad PCB handles typing over its own wireless dongle, and a USB game controller was gutted so its D-pad and buttons could ride on the front panel.
Since the Pi runs on an Arm chip and not the original 6502, real C64 cartridges will not boot. The fix is the VICE emulator, tuned to launch straight to that familiar blue screen and blinking cursor the moment power hits the board. A speaker and amp handle the chiptunes, and a battery bank makes it genuinely portable, if a bit chunky.
The full parts list, firmware, and wiring notes live on the project’s GitHub repository, linked from the original Hackster writeup. If you want to try the Pico-to-joystick trick on your own retro project, grab a Pi Pico and a couple of DB9 breakout headers from circuit.rocks and start by mapping one joystick pin at a time.
Frequently Asked Questions
How does this handheld read the classic Commodore joystick ports?
A Raspberry Pi Pico sits between the two 9-pin D-sub ports and the Pi. The microcontroller reads the joystick pins and converts the signals into USB input the Linux side can understand, since nothing modern natively speaks the old DB9 protocol.
Do you need to solder anything to build it?
No. The Raspberry Pi 3, Xbox Chatpad keyboard, HDMI screen, speaker amp, and battery bank all connect over USB and pin headers, so the handheld goes together without a soldering iron. The trade-off is a chunkier case.
What will I learn if I build this?
You practice signal translation with a microcontroller, USB and HID input handling, running the VICE emulator on Linux, and packaging a Raspberry Pi into a portable enclosure. It is a solid intro to bridging vintage hardware protocols to modern boards, useful for any retro or embedded thesis project.
