
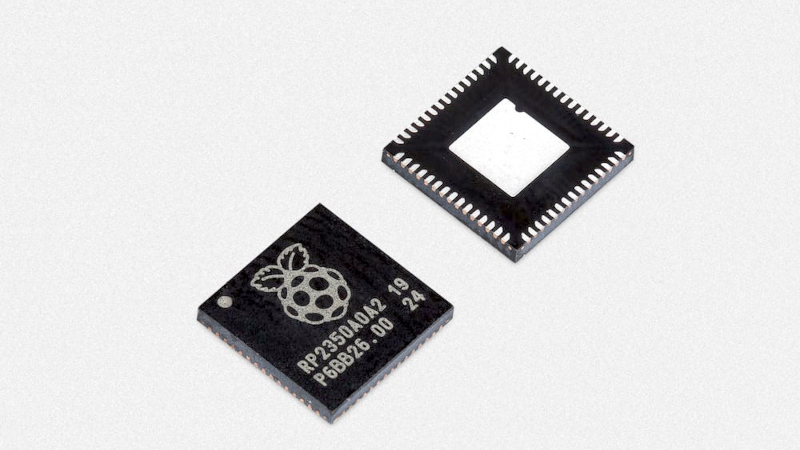
To try this at home you need a Raspberry Pi Pico 2 or any other RP2350 board, a DVI breakout (or a hand-wired resistor ladder across four differential GPIO pairs), a short HDMI cable, and a monitor that will accept 1920×1080 at 60 Hz. No FPGA, no dedicated video chip, no HDMI transmitter IC. The entire video path comes out of the microcontroller’s own PIO blocks and a lot of nerve.
What Aaron Gayle actually built
The 1080p output is not a standalone demo reel. It ships inside TVtop, a board game where the playing surface lives on your TV and every player uses their phone as a controller over Wi-Fi. An ESP32 handles the wireless side of that game; the RP2350 does nothing but paint pixels. Pushing a Pico-class chip to 1920×1080 clears the old ceiling of 720p, which is about where RP2040 DVI builds topped out.
No framebuffer, one scanline at a time
A full 1080p framebuffer at 16 bits per pixel wants roughly 4 MB. The RP2350 has 520 KB of SRAM. So Gayle simply doesn’t keep one. Each scanline is generated on the fly, handed to PIO, and thrown away, which is the same trick 8-bit machines used in the 1980s, dragged forward forty years. Even that isn’t enough on its own: the stock 150 MHz system clock can’t feed the TMDS bit rate, so the chip runs overclocked to 372 MHz. Two gotchas if you clone this. Check your board’s flash timing at that clock before you blame the video code. And keep the differential pairs short and length-matched, because 1080p TMDS is fast enough that loose jumper wires on a breadboard will show up as sparkle across the screen.
Where to start
If you already have a Pico 2 on the bench, the cheapest first step is a 720p port on RP2040 to get the PIO and pinout right, then move up. The full write-up, including how the scanline generator is structured, is at Hackaday. Gayle says the whole thing started because an earlier Hackaday post asked whether 1080p from a Pico was even possible.
Frequently Asked Questions
How does the RP2350 output 1080p without enough RAM for a framebuffer?
It never stores a full frame. Each scanline is generated on the fly, pushed straight to the PIO state machines driving the TMDS pairs, then discarded. A 1080p framebuffer at 16 bits per pixel would need about 4 MB; the RP2350 only has 520 KB of SRAM.
What parts do I need to try this?
A Raspberry Pi Pico 2 or another RP2350 board, a DVI breakout or a resistor-ladder built on four differential GPIO pairs, an HDMI cable, and a monitor that accepts 1920×1080 at 60 Hz. The chip also has to be overclocked to 372 MHz, well above its 150 MHz stock clock.
What will I learn if I build this?
You will get hands-on with PIO programming, clock and timing configuration, and high-speed differential signalling. Expect to learn why trace length matters, how to read a video timing spec, and how to debug signal integrity when the picture sparkles. Those are the same skills that show up in ECE thesis work on display drivers, FPGA video, and any project where a microcontroller has to hit hard real-time deadlines.
