
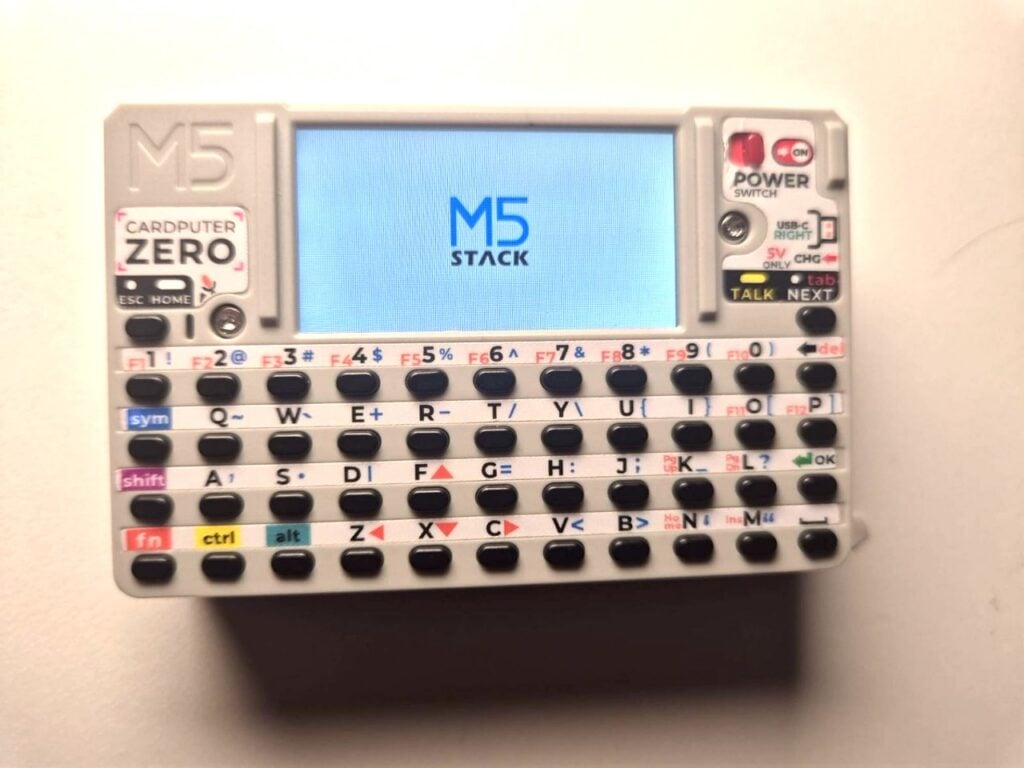
Cyberdecks quietly changed what a Raspberry Pi is allowed to look like. Handhelds such as the M5Stack Cardputer Zero and the Hackberry Pi ship with a small SPI panel bolted on as the only display, with no HDMI monitor anywhere in the build. That works once Linux is running. Before then you get several seconds of black screen, and on a device with no keyboard and no monitor, a black screen reads as a brick.
The fix Raspberry Pi just shipped
Thomas Griffiths, working at Raspberry Pi over the summer, wrote a firmware extension that paints a splash screen from inside the bootloader itself. M5Stack had been solving the same problem by bolting U-Boot on as an extra boot stage purely to get pixels up early. The new path skips that stage and lights the panel in about two seconds, which is roughly when a phone would have shown you its logo.
A tiny language, interpreted in the bootloader
The syntax borrows from Noralf Trønnes’ mipi-dbi wiki language, so configuration you already wrote for his Linux driver mostly carries over. You declare the bus and its pins, then push raw register writes:
define mled spi [copi 10] [cipo 9] [sclk 11] [cs 8] [freq 1000000]
mled 0x0c 0x00
mled 0x0b 0x07
mled 0x0c 0x01
Those are the stock SPI0 pins on the 40-pin header (GPIO 10 for COPI, 9 for CIPO, 11 for SCLK, 8 for CS) clocked at 1 MHz. I2C is supported too, so an SSD1306 on SDA/SCL is fair game. The image gets statically compiled into the binary, which is the part worth paying attention to: the bootloader is just dumping bytes at a peripheral, so it is not limited to pictures. The Pi team drove a 7-segment display to spell HELLO by hand-writing eight character registers, and oversampled SPI hard enough to bit-bang UART into a receipt printer.
Where to point this next
The feature sits in the firmware beta right now. Run sudo raspi-config, go to Advanced Options and turn on Beta Access, then sudo apt update && sudo apt full-upgrade on a freshly imaged card. Build instructions live in the splashasm folder of github.com/raspberrypi/utils; the resulting binary goes in the boot firmware folder with a line in config.txt pointing at it. If there is an ST7789 or an SSD1306 sitting in your parts bin, that is one evening of work between you and a thesis demo that stops looking half-finished during the first ten seconds. Full writeup and the beta docs are on the Raspberry Pi news post.
Frequently Asked Questions
How early in boot does the splash screen actually appear?
About two seconds after power-on. The bootloader itself drives the panel, so it happens before Linux loads. The previous workaround was adding U-Boot as an extra boot stage just to get pixels on screen, which this replaces.
Which displays and pins does it work with?
SPI and I2C panels, including common controllers like the ST7789 and SSD1306. You declare the bus in a short config line, for example the stock SPI0 pins GPIO 10 (COPI), 9 (CIPO), 11 (SCLK) and 8 (CS) at 1 MHz. It ships in the firmware beta, enabled via sudo raspi-config under Advanced Options, Beta Access.
What will I learn if I build this?
You will get hands-on with SPI and I2C at the register level instead of hiding behind a library. Writing raw control bytes to a display controller, reading a datasheet for register addresses, and wiring a panel to the 40-pin header are the same skills you need for any sensor or peripheral in a thesis or capstone build. You also learn how the Pi boot sequence is actually staged, which is useful debugging knowledge on its own.
