
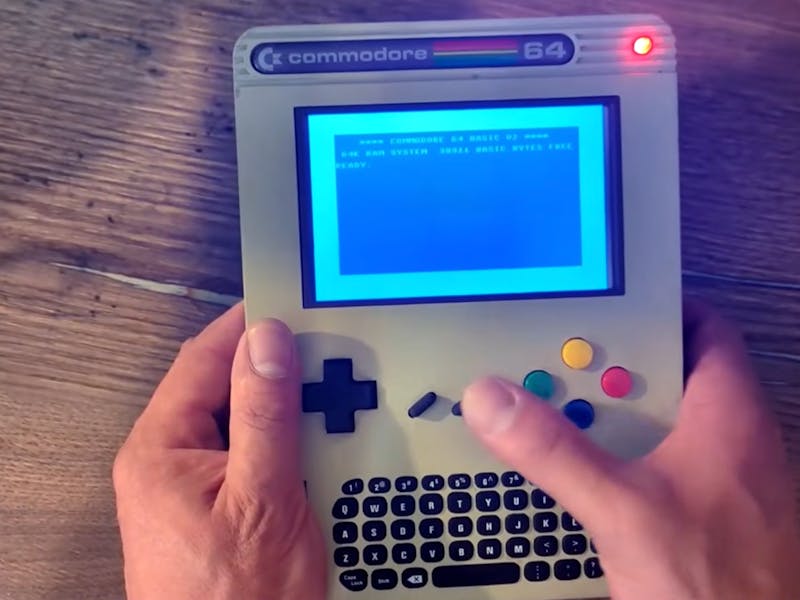
Flip the power switch and a familiar blue screen fades in, cursor blinking, ready for a line of BASIC or a cartridge-era game. Except this Commodore 64 fits in two hands and rides along on a USB battery bank. YouTuber Retro Dad built it to carry the best-selling computer model of all time out of the den and onto the couch, the bus, or anywhere a retro itch strikes.
What Retro Dad actually built
The heart of the handheld is a Raspberry Pi 3 Model B running the VICE emulator, set to boot straight to that blue C64 screen. A physical keyboard salvaged from an Xbox Chatpad sits below a small HDMI display, and a speaker paired with an amplifier module handles the chiptunes. Real 9-pin joystick ports hang off the side so vintage controllers still plug in the way they did back in 1985. The whole thing is open source: printable case files, wiring diagrams, custom firmware, and a full build guide.
How the pieces come together
The clever bit is the joystick wiring. Those 9-pin D-sub connectors vanished from computers decades ago, and the Pi has no idea what to do with their raw signals. Retro Dad dropped in a Raspberry Pi Pico as a translator, reading the joystick lines and handing the Pi something it understands over USB. Skip the external stick and a salvaged D-pad and buttons from a USB controller take over instead. Because nearly every part is an off-the-shelf module, the handheld goes together without touching a soldering iron, though that convenience makes it a chunky device. The Chatpad’s own wireless dongle keeps the keyboard talking to the Pi.
The takeaway
An Arm chip will never be a 6502, so none of this is original silicon, but VICE gets close enough that the blinking cursor feels honest. For a student, it is a tidy lesson in how emulation, a microcontroller bridge, and salvaged parts can rebuild a 40-year-old machine for a fraction of what a real C64 costs today. The full parts list, STL files, and firmware live on the project write-up and its linked GitHub repository. Grab a Pi 3, a Pico, and a spare weekend, and you can boot to blue by Sunday night.
Frequently Asked Questions
How does the handheld connect classic 9-pin joysticks to the Raspberry Pi?
A Raspberry Pi Pico sits between the joystick ports and the Pi 3. It reads the raw 9-pin D-sub signals and translates them into USB input the Raspberry Pi can understand.
Can it run original Commodore 64 game cartridges?
No. The Pi 3 uses an Arm chip instead of the C64’s 6502, so it runs the VICE emulator rather than original hardware. It boots straight into VICE and loads classic games from disk images.
What will I learn if I build this?
You’ll practice wiring a microcontroller as a signal bridge, configuring an emulator on a Raspberry Pi, mapping buttons to GPIO pins, and assembling salvaged parts into a working device — solid grounding in embedded systems and retro-computing.
