
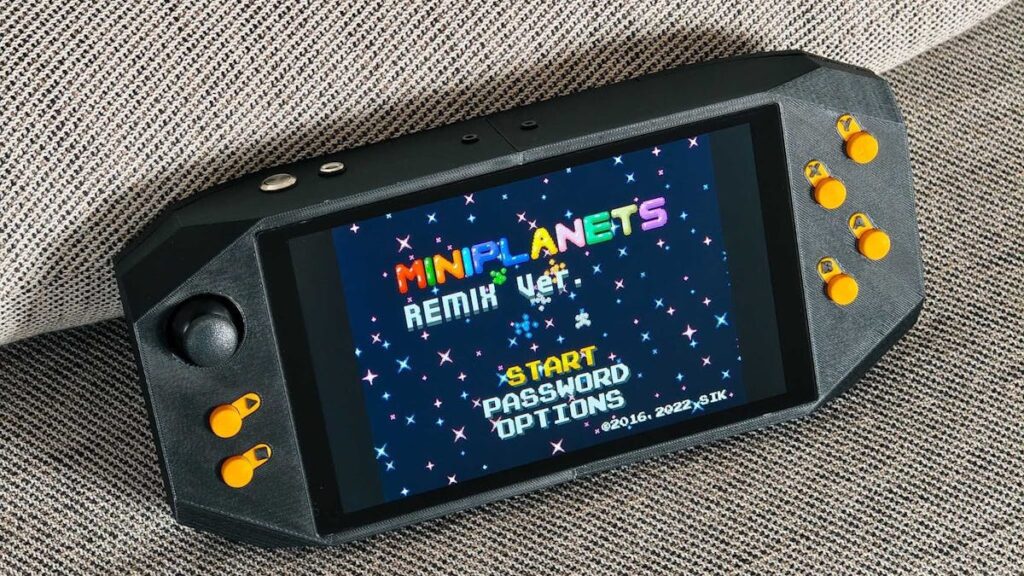
Got a free Saturday and a shelf of Arduino modules gathering dust? Here is a weekend build that turns them into a working RetroArch handheld, no PCB to design and barely any soldering iron time. Zalmotek put this console together using parts you can order online and bolt straight into a 3D-printed shell, which makes it one of the friendlier retro-gaming builds we have covered.
What you actually build
The brain is an Arduino UNO Q (the 4GB model), sitting on an Arduino UNO Media Carrier that breaks out the connections you need. The carrier gives you a DSI port for an 8-inch Waveshare touchscreen and a 3.5mm jack for an Adafruit speaker. Controls come from Modulino Buttons and a Modulino Joystick, and a Waveshare UPS module keeps it running off battery. Because these modules share the same connectors, most of the wiring is premade cables clicking into place rather than solder joints.
Parts and cost reality
Be honest with yourself before ordering: this is a modular build, so it is a bit bulky and the parts add up. You are buying a single-board computer, a touchscreen, a battery module, two control modules, and a speaker, plus the filament for the enclosure. Heat-set threaded inserts hold the shell together, so grab a soldering iron with a flat tip to press those in. That is genuinely the only heat work in the whole project. Everything else is plug-and-play, which is why it is a good pick for a student team that has more curiosity than bench experience.
The clever software bit
The UNO Q pairs an STM32 microcontroller with a Linux side, and Zalmotek used both. The STM32 watches the button and joystick inputs, then hands them to a small Python daemon on Linux that translates them into standard USB gamepad signals. RetroArch reads those exactly like any plugged-in controller, so there is no fiddly per-emulator remapping. Load your ROMs and the buttons just work.
Spend your Sunday on this
If you want a portable emulator you can actually explain to a classmate, this is the build. Read Zalmotek’s full write-up on Hackster for the wiring order, then start by getting the touchscreen and gamepad daemon running before you print the case. That way you debug the code on a bare bench, not inside a half-closed shell.
Frequently Asked Questions
What hardware does this Arduino UNO Q handheld use?
An Arduino UNO Q (4GB) on an Arduino UNO Media Carrier, plus Modulino Buttons, a Modulino Joystick, an 8-inch Waveshare touchscreen, a Waveshare UPS module, and an Adafruit speaker. Only the enclosure and buttons are 3D-printed.
Do I need to know how to solder to build it?
Barely. The modules connect with premade cables, so the only heat work is pressing heat-set threaded inserts into the printed shell with a soldering iron. It is a good first build for someone new to the bench.
What will I learn if I build this?
You will practice wiring modular hardware over DSI and audio connections, and see how an STM32 microcontroller passes inputs to a Linux Python daemon that emulates a USB gamepad for RetroArch. It is a hands-on lesson in bridging microcontroller and single-board-computer worlds.
