
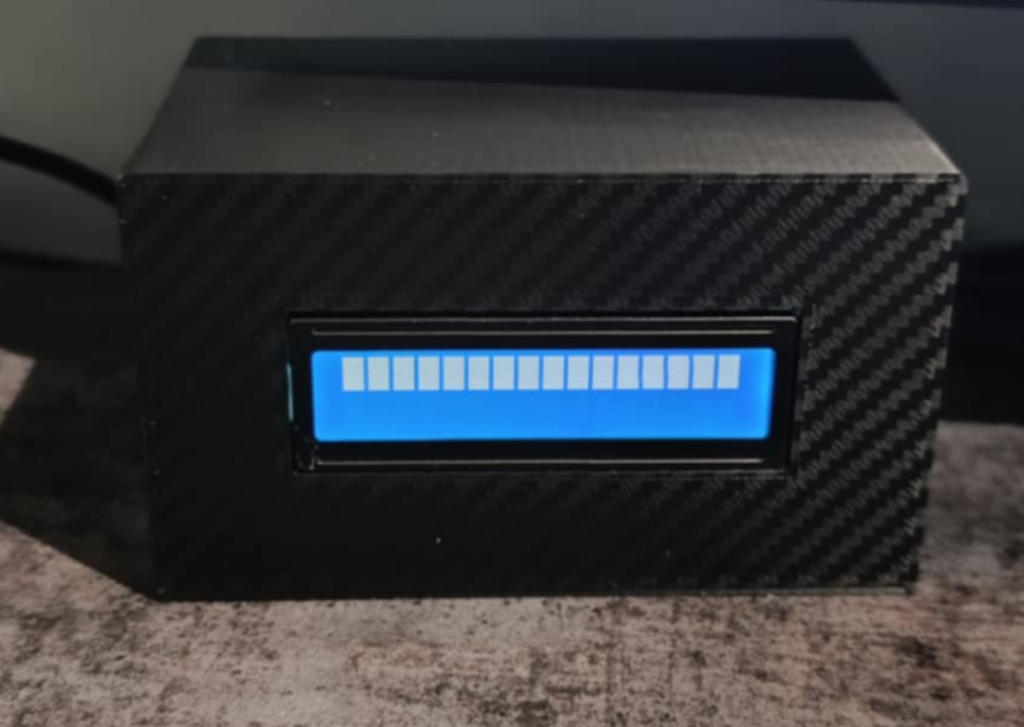
A bare Raspberry Pi Zero 2W is wonderfully tiny, but it gives you no easy way to see what it’s actually doing. This neat 3D-printable case fixes that by building a small character display right into the enclosure.
Shared by maker Szczybyrybobry on MakerWorld, the design wraps the Pi Zero 2W in a compact case finished with a carbon-fiber-style texture, and mounts a classic 2×16 character LCD on the front. The idea is simple but practical: instead of SSH-ing in to check on a headless Pi, you can glance at the screen and instantly read off whatever your project wants to show, from an IP address to a sensor reading. It turns an invisible computer into something you can actually interact with at a glance.
How it goes together
The display is a standard HD44780 2×16 module driven over I2C. Using an I2C backpack keeps the wiring minimal: just power, ground, and the two I2C lines (SDA and SCL) to the Pi’s GPIO header, leaving most of the pins free for the rest of your build. The printed enclosure holds both the board and the LCD in alignment, so the finished unit looks like a purpose-built gadget rather than a loose pile of parts. The carbon-texture finish prints cleanly on a standard FDM machine, and the model files are available to download so you can print and assemble your own.
That combination makes it a tidy fit for IoT and home-automation jobs, where a permanently-on Pi needs to surface a little information without a full monitor: system status, performance indicators, network details, or live data from whatever it’s monitoring. Two rows of sixteen characters is modest, but it’s plenty for the kind of at-a-glance readout these always-on projects usually need.
Build it yourself
To recreate it you’ll need a Raspberry Pi Zero 2W, an HD44780 2×16 character LCD with an I2C backpack, and access to a 3D printer for the case. From there it’s a matter of wiring the four I2C connections, dropping everything into the printed shell, and writing a short script to push your chosen text to the screen.
Frequently Asked Questions
How does the 2×16 LCD connect to the Raspberry Pi Zero 2W?
The HD44780 character display uses an I2C backpack, so it connects with just four wires: power, ground, and the two I2C lines (SDA and SCL) on the Pi’s GPIO header. That leaves most of the GPIO pins free for the rest of your project.
What can you display on the 2×16 character LCD?
Anything short and text-based: the Pi’s IP address, CPU temperature, system status, a clock, or live readings from a sensor. With 2 rows of 16 characters it’s ideal for at-a-glance status on a headless IoT or home-automation device.
What will I learn if I build this?
You’ll practice 3D printing and assembling an enclosure, wiring an I2C peripheral to the Raspberry Pi’s GPIO header, and writing a short Python script to drive a character LCD. It’s a friendly introduction to I2C communication and adding a hardware display to a headless computer.
